“San Francisco itself is art…. every block is a short story, every hill a novel. Every home a poem, every dweller within immortal.” (William Saroyan)
I’m in San Francisco for work this week and finding myself in constant awe of the city’s beauty. I spent spring break here with my family when I was in high school and a brief afternoon two years ago with Holden before a wedding, but it has been nice revisiting spots that had become distant memories and discovering new vistas. I knew that we wouldn’t have much free time, because we’re working during the day, so I wanted to make every spare moment count. Instead of spending hours processing RAW images from my camera in Lightroom, I decided to conduct a bit of an experiment…
I bought my Fujifilm X100T before our NYFW trip last September. It earned its rightful place in my heart and camera bag during our Dubai vacation. The $1300 price tag for the X100T is steep, but the camera’s 35mm focal length (28mm on a APS-C crop sensor) allowed me to sell my Canon 35L lens to cover the cost.
One of the biggest reasons I bought it was because it shoots in RAW, so I can post-process in Lightroom with the same presets I use with my Canon images for consistency. Except, in doing this, not only was I spending a lot of time editing, I felt like I was missing out on Fuji’s powerful in-camera JPEG processing feature. Fuji has been manufacturing film for over 80 years. When people talk about Fuji colors, it’s because it is incomparable. They know color.
The Fuji X100T comes with the following film-simulation presets:
- PROVIA/STANDARD – Standard color reproduction. Suited to a wide range of subjects, from portraits to landscapes.
- VELVIA – A high-contrast palette of saturated colours, suited to nature photographs.
- ASTIA/SOFT – A soft-toned palette of less saturated colours.
- CLASSIC CHROME – Soft colour and enhanced shadow contrast for a calm look.
- PRO Neg. Hi – Offers slightly more contrast than (PRO Neg. Std). Recommended for outdoor portrait photography.
- PRO Neg. Std – A soft-toned palette. The range of hues available for skin tones is enhanced, making this a good choice for studio portrait photography.
- MONOCHROME – Take pictures in black and white.
- MONOCHROME+Ye FILTER – Take black-and-white pictures with slightly increased contrast. This setting also slightly tones down the brightness of the sky.
- MONOCHROME+R FILTER – Take black-and-white pictures with increased contrast. This setting also tones down the brightness of the sky.
- MONOCHROME+G FILTER – Soften skin tones in black-and-white portraits.
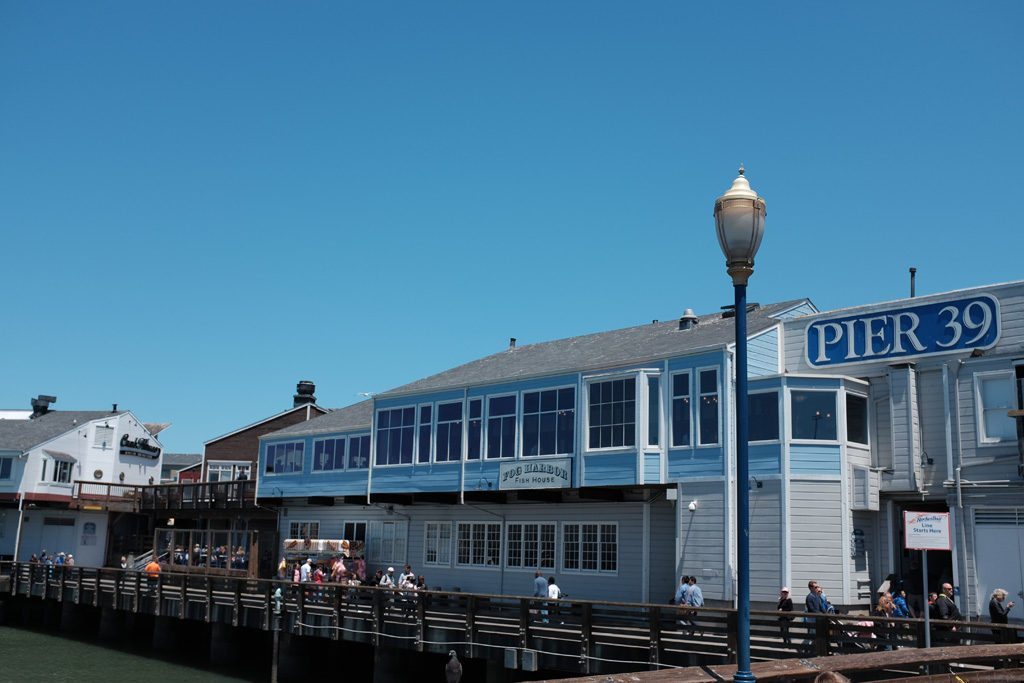
My favorite film simulation, and the one I used for all photos in this post is Classic Chrome, the only mode not based on a former Fujichrome film stock. It provides a retro look– low saturation matched with mild contrast. Careful attention was paid to sky tonality, removing magenta casts to minimize richness, and drawing down the overall saturation response to reds and greens to achieve a muted, chromatically balanced image. The results, I think, speak for themselves.
The below images were uploaded straight out of the camera (SOOC). I haven’t posted SOOC photographs since before 2004, when I first discovered Photoshop. Everything was set to auto (minimum shutter speed 1/100, maximum ISO 3400), NR (noise reduction) at -2, with minor tweaks to Shadow and Highlight settings, and Color +1. I didn’t think it was possible, but I’m sure that I just fell in love with my small but mighty Fuji X100T all over again. And you, San Francisco, you beautiful city.


So pretty! Looks like you had the best time!
The food pics though! Love!